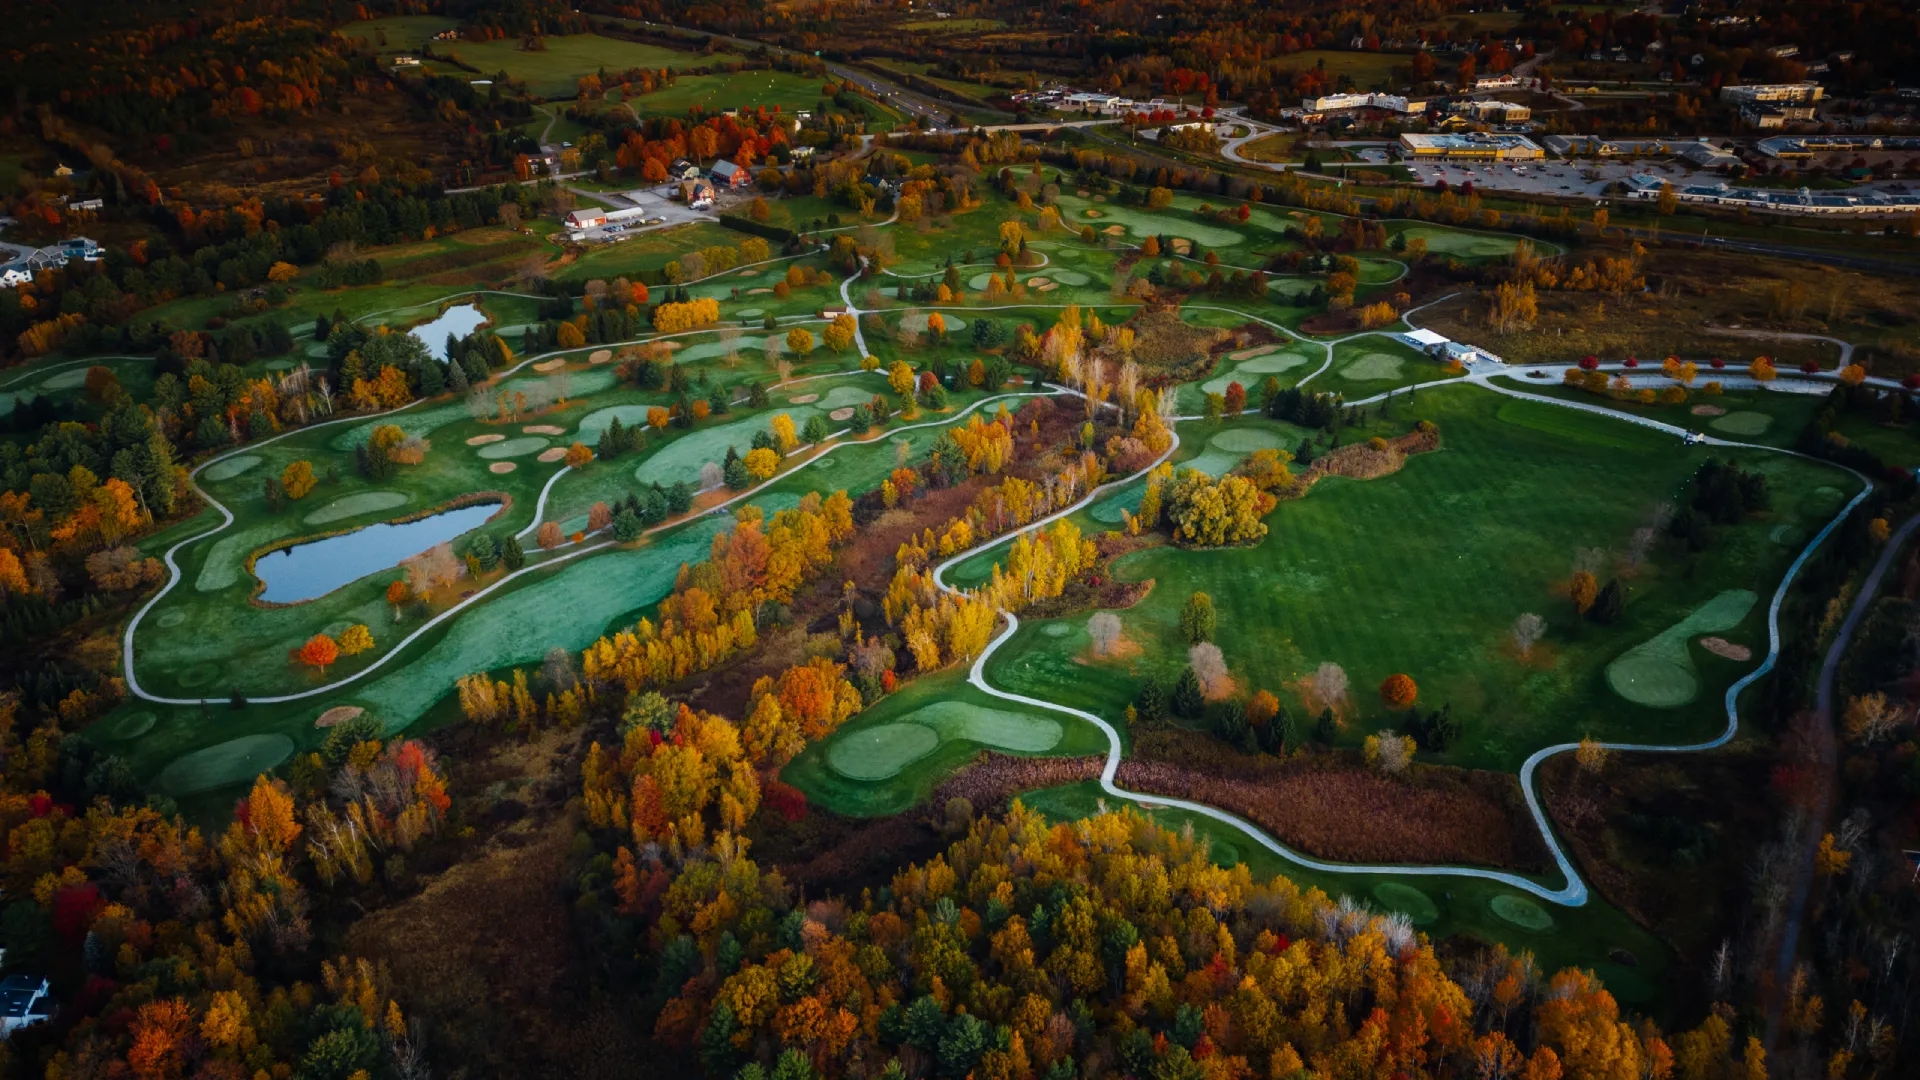
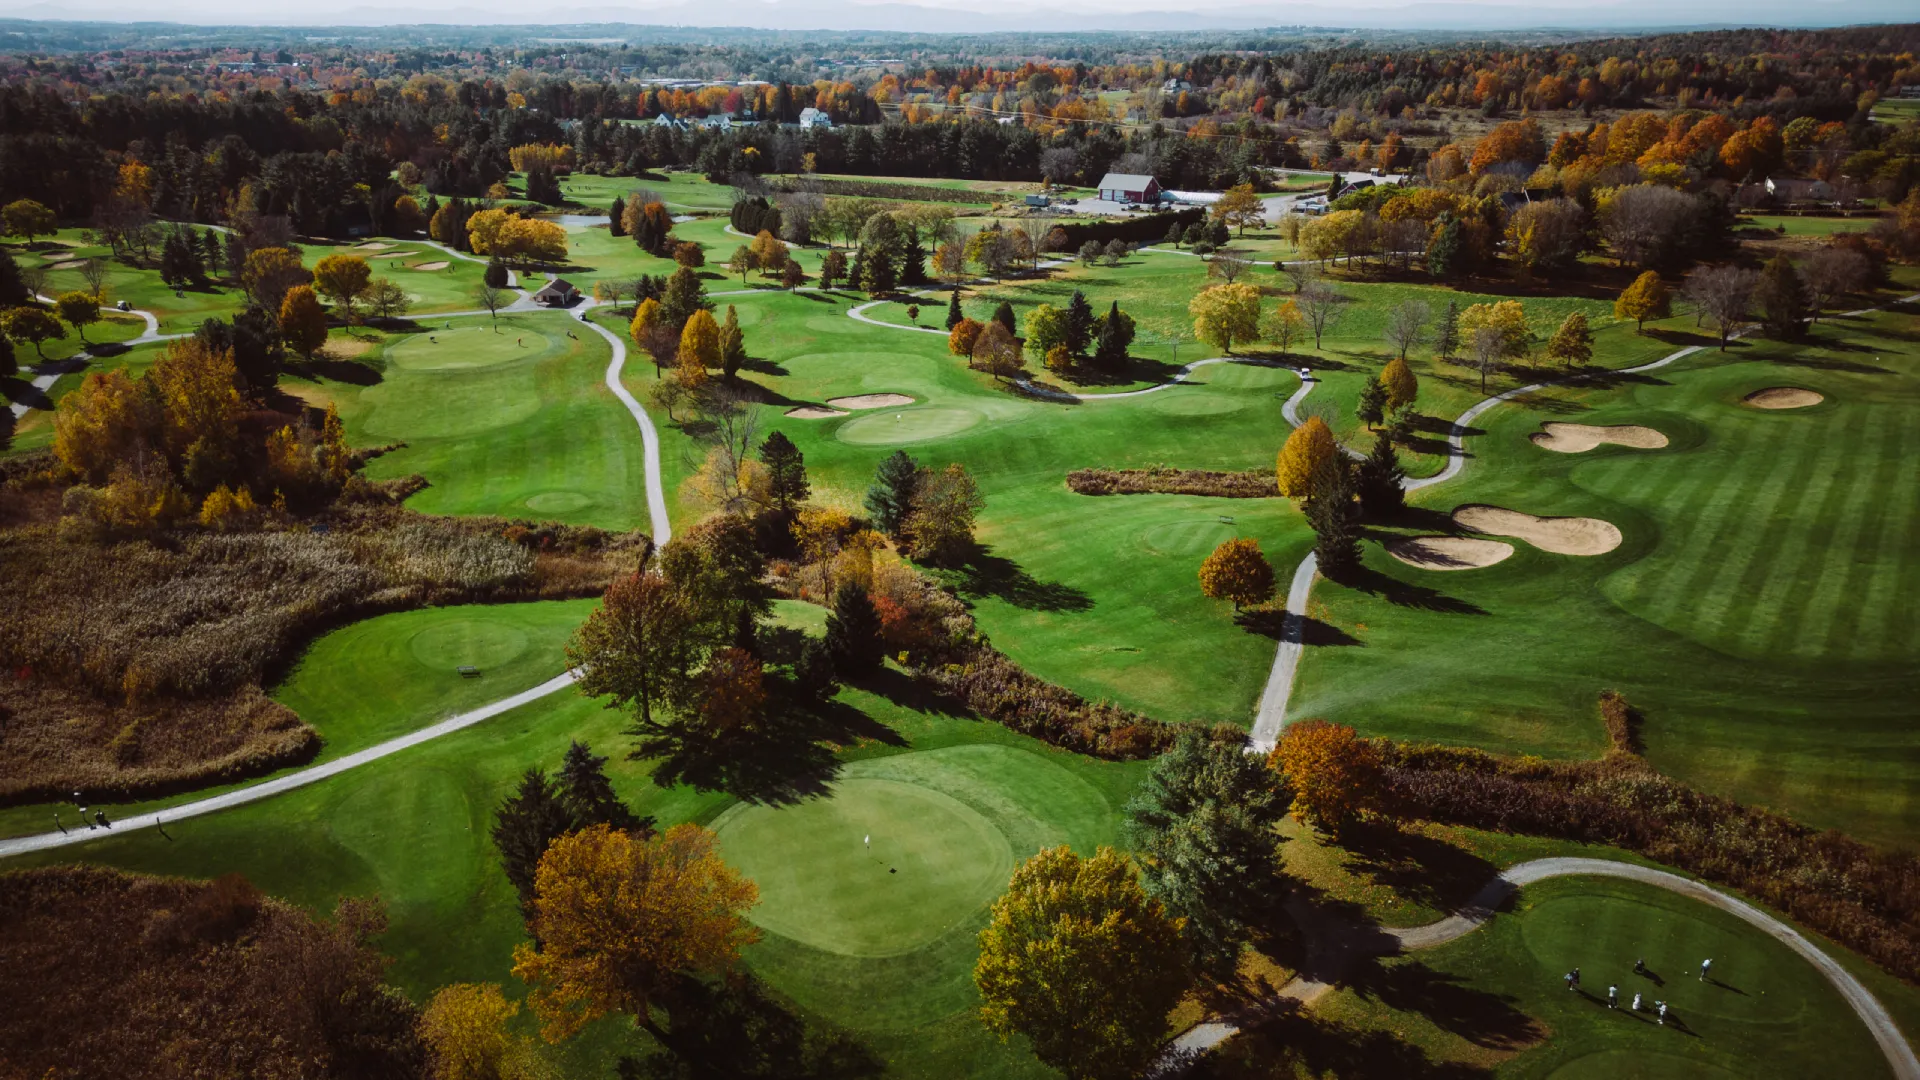
Hole by Hole Tour
18 Holes
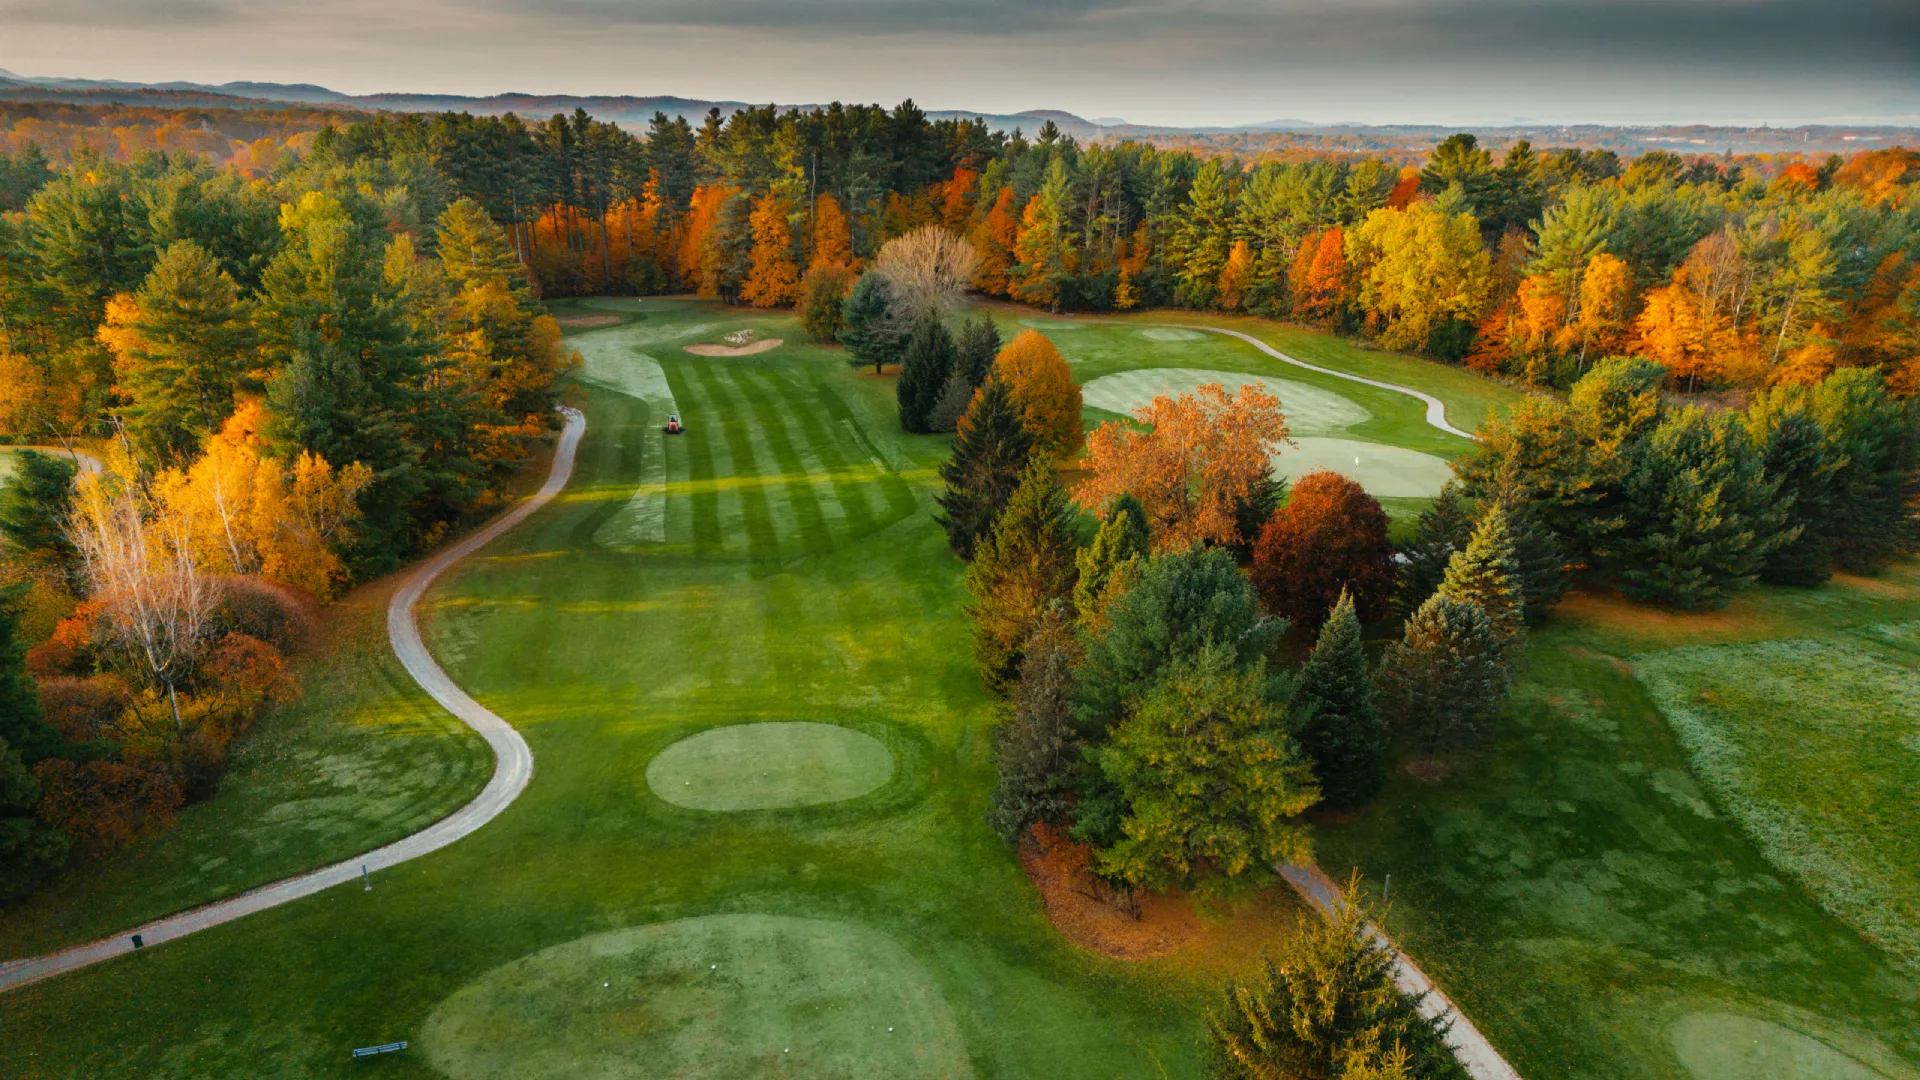
- Hole 1
- Hole 2
- Hole 3
- Hole 4
- Hole 5
- Hole 6
- Hole 7
- Hole 8
- Hole 9
- Hole 10
- Hole 11
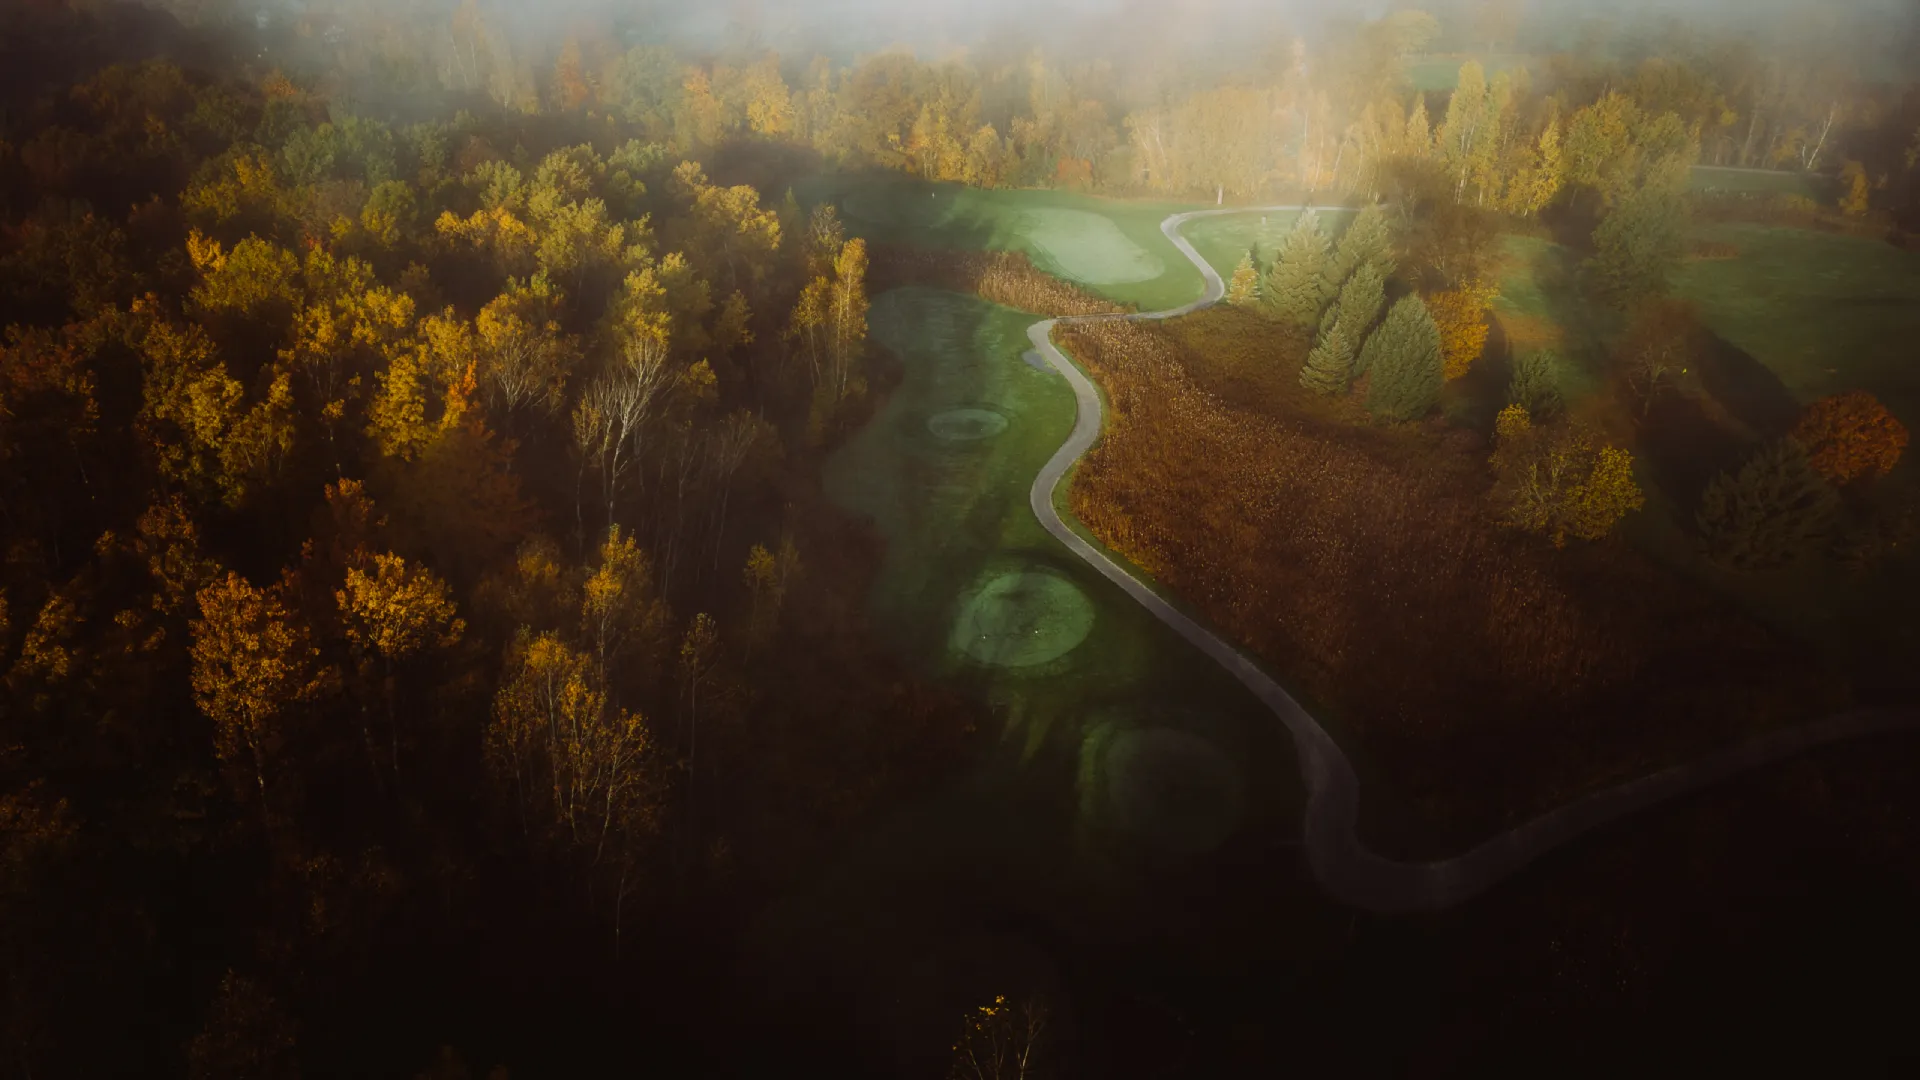
- Hole 12
- Hole 13
- Hole 14
- Hole 15
- Hole 16
- Hole 17
- Hole 18
Distance: 175/160/132 yards
Par: 3
A challenging start awaits you on hole one with the blue tee measuring to 175 yards. Out of bounds runs on both sides of this hole with a large bunker short and left of the green. A steep embankment over the green will produce a very challenging chip for any shots over the green.
Pro’s Tip: Short is better than long on this hole, your tee-shot will bounce onto the front of the green giving you a putt at birdie.
Distance: 192/169/145 yards
Par: 3
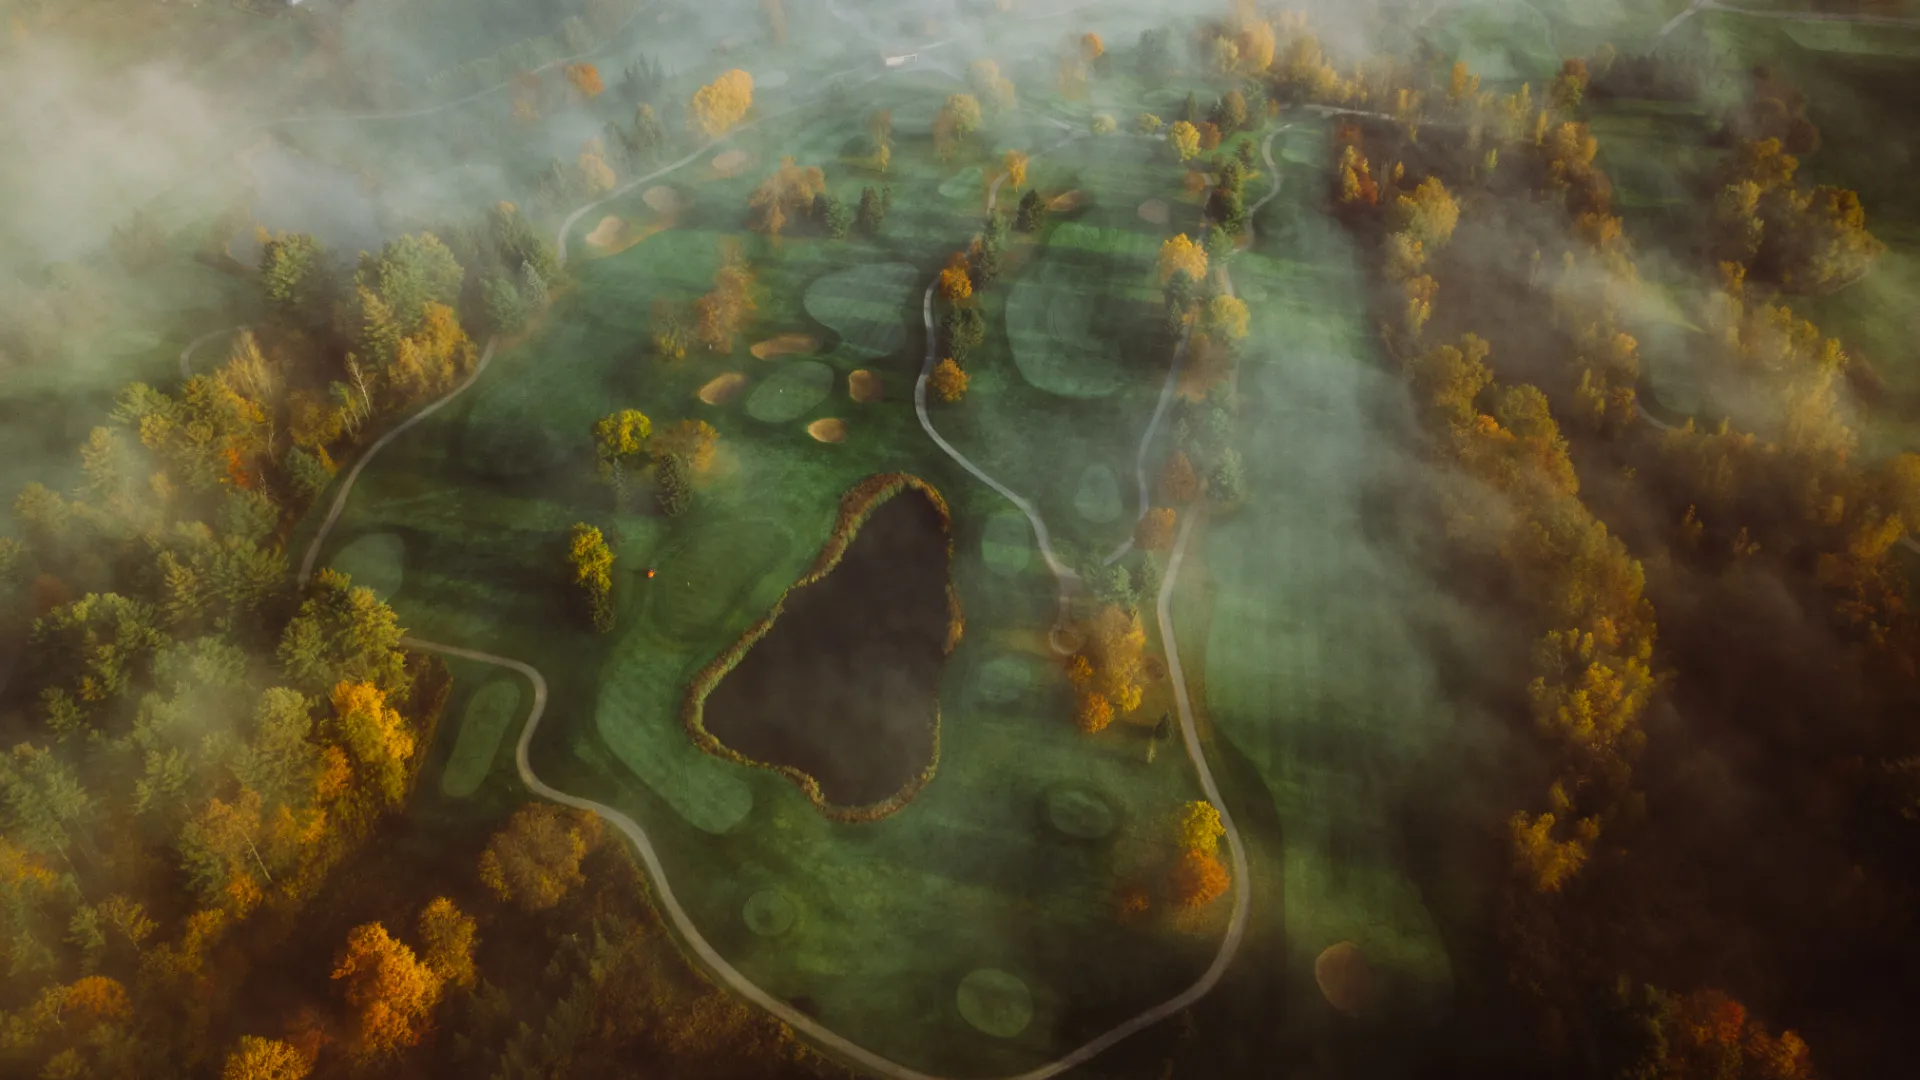
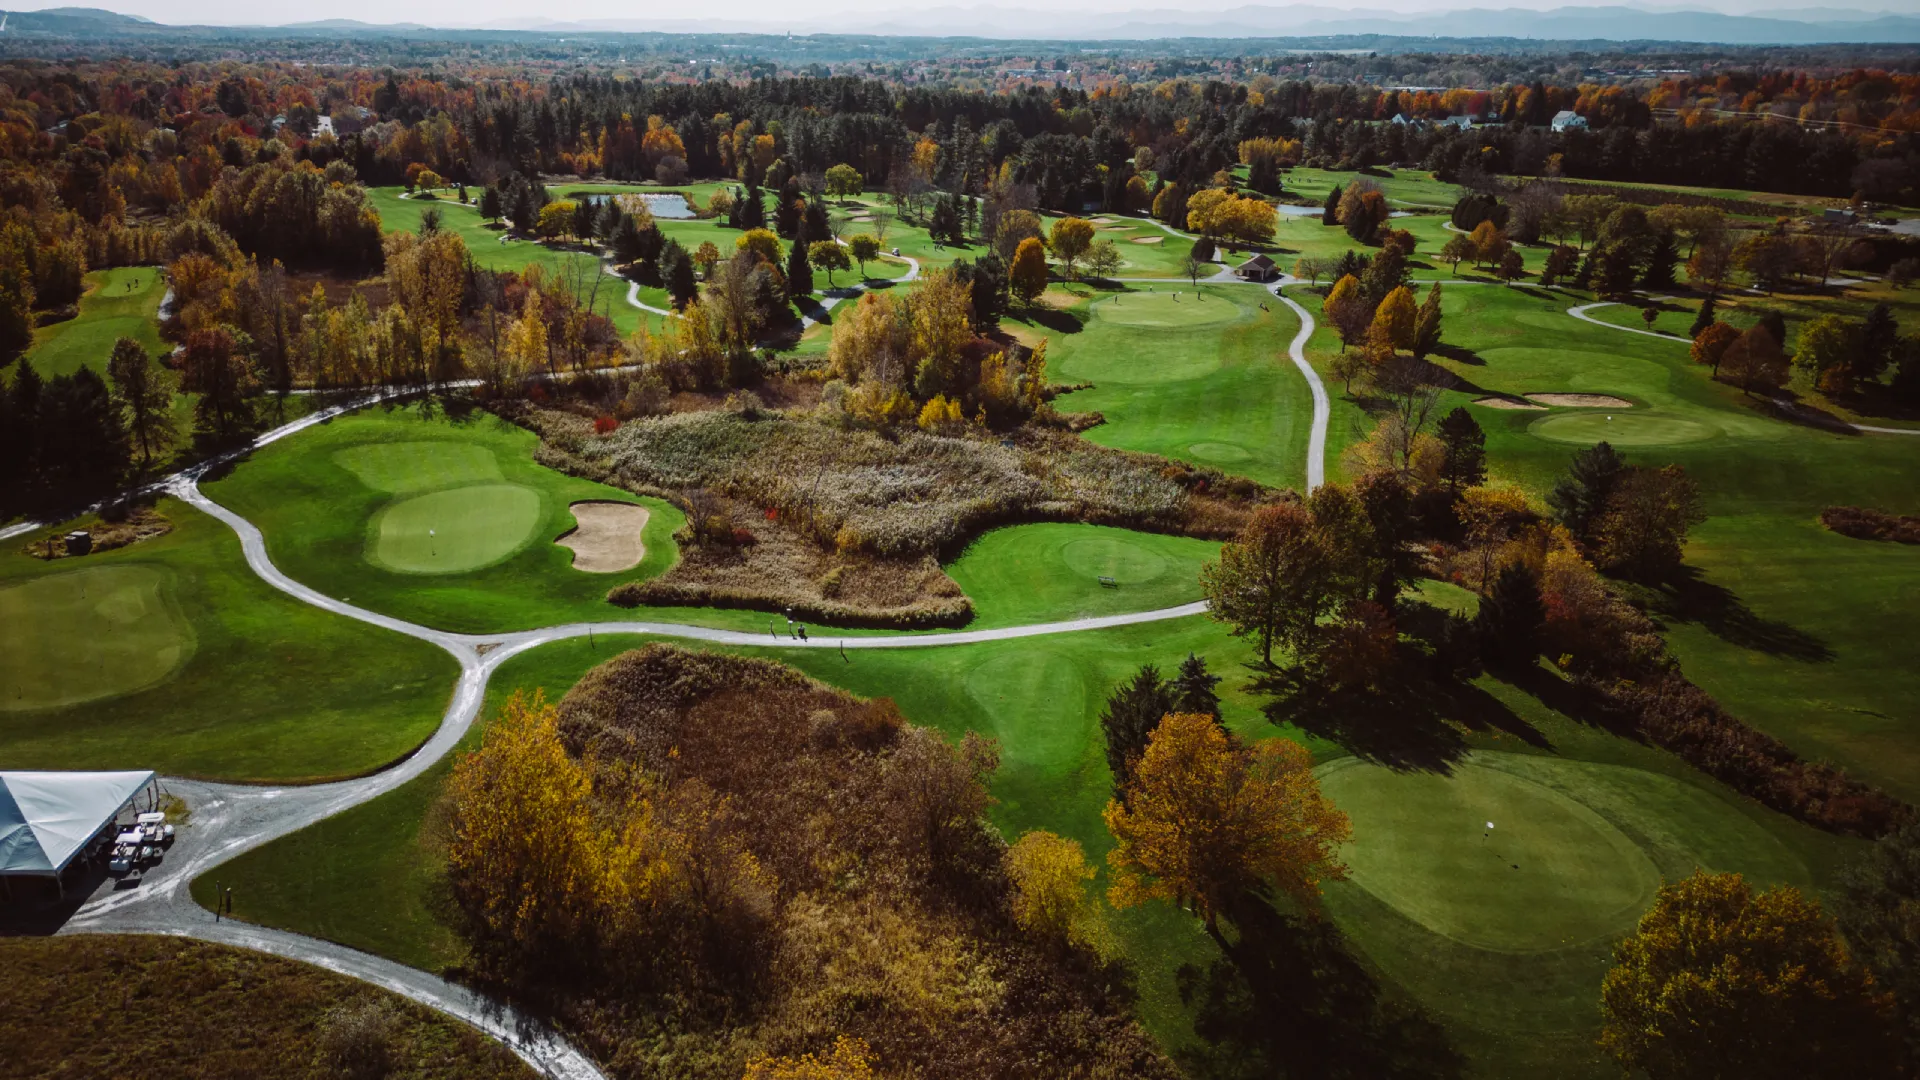
Our signature hole welcomes you on hole two with the yardage stretching to 192 yards. Hazards are plentiful on this hole with the green being surrounded on three sides by marsh. A large bailout area is available to the right side of the green. The front-side of the green has more landing area than the back-side of the green; with that said don’t be long! Get out of here with a par and you’re doing well.
Pro’s Tip: Keep an eye on the wind and use the bailout area to the right side of the green.
Distance: 167/152/141 yards
Par: 3
A straightforward hole awaits you on hole three with hazards lining both the left and right side of the hole. The green is the second largest on the course and is perched atop a small plateau. It may be a large target but is a challenge to hit with the prevailing winds often in your face or from left to right.
Pro’s Tip: Take an extra club, the green is slightly uphill and is very deep so any long shot will feed back into the middle of the green.
Distance: 357/295/285 yards
Par: 4
The first of six par fours welcomes you with a blind tee-shot from the blue tee up the hill. Yardages vary from 285 to 357 on hole four. The hole is more straightforward from the white and red tees but no matter your teeing position a tee-shot favoring the right-side of the hole is best. Hazard lines the entire left side of this hole but come into play more often from the tee then on your second shot. A deep guarding bunker sits short of the green, a high lofting approach shot works best on this green as it runs severely from front to back.
Pro’s Tip: Favor the right side on the tee-shot and make sure to check your yardage on your approach shot, this hole tends to play shorter than it says.
Distance: 153/124/107 yards
Par: 3
A daunting task awaits you on the fifth hole with a large pond that you must carry. The green features a large central landing area with two smaller zones on the left and right side. Beware, the pin placements in these smaller zones are a real challenge. The front of the green and fringe can often be very fast and runs toward the water so shots that land short often end up swimming.
Pro’s Tip: The wind is often in your face on this hole and plays a huge factor with club selection. Take and extra club and aim for the center of the green.
Distance: 317/307/242 yards
Par: 4
The sixth is a very appealing dogleg right that features three large bunkers on the left side with a dense grouping of trees lining the right side. Yardages range from 242 to 317 on this uphill par four. The big hitters often try to cut the corner on this hole but end up in the trees to the right, the smart drive is to aim at the third bunker on the left. The approach shot is uphill to a very challenging green featuring two tiers. The tier to the right is very small and is hard to hold. The green features a large bank in the back that catches long shots and funnels them back to the center portion of the green. This bank is a great target from the fairway.
Pro’s Tip: A drive down the middle to left side opens this hole up to an easier approach shot. If the pin is on the tier to the upper-right side don’t go for it, instead aim for the center of the green and leave yourself an easy uphill putt at birdie.
Distance: 158/133/123yards
Par: 3
While the seventh only plays 158 yards from the blue tee this hole is no easy walk in the park. The seventh features four deep, guarding bunkers that wreak havoc on most players. The green sits well below the teeing area but plays true to the yardage. A small rolling green features three distinctive zones, if you manage to miss the bunkers on this hole a birdie will look great on the card.
Pro’s Tip: Avoid the bunkers at all costs! Favor the right side of the green on your tee-shot; winds are often from right to left.
Distance: 218/180/154 yards
Par: 3
Ranging in distance from 154 to 218 yards this hole is the longest par three on the course. The eighth is all uphill and features two deep; guarding bunkers one on each side of the front of the green. It will play 10+ yards longer because of the elevation change. The green is very small in size and is a real challenge to hit due the long iron, hybrid or even a driver that you’re required to hit here.
Pro’s Tip: A shot down the middle and short of the two bunkers is the play here. A par feels like birdie, be happy with a three and move on.
Distance: 182/156/150 yards
Par: 3
With a wide variety of yardages from 150 to 182 yards this hole presents many options but none that are easy. The white and blue tees require a precise tee-shot over a large hazard short of the green. The red tee is on the opposite side of the hazard but still requires a good tee-shot to avoid the large bunker that sits to the left-side of the green. A bail-out area is available to the right side of the green for those hitting from the white or blue tees.
Pro’s Tip: Make sure to have enough club and favor the right side of the green. If you’re unsure about going for the green bailout to the right.
Distance: 198/156/150 yards
Par: 3
Hole #10 is a 198 yard uphill par three that features the largest green on the course. Hitting this large target may sound easy but it is no easy task. Your tee-shot must carry a small hazard area and then carry the large entry bank leading to the green. If you land short your ball will roll down the ban leaving a lengthy pitch shot. The green features three tiers and many quality pin placements.
Pro’s Tip: Check your alignment on the tee-shot, the tees tend to aim you to the left of the green. This green is nearly 80 feet in depth so check the pin location, a pin in the back of the green will require two extra clubs.
Distance: 154/147/122 yards
Par: 3
Hole #11 plays 154 yards from the back tee and slightly downhill. The green sits perched atop a small knoll that is guarded by a large pond on the backside. If you hit to the left or the right of the green your shot will be discarded to the thick rough that surrounds the green. This is the most difficult green to hit on the course.
Pro’s Tip: The green and surrounding area slope drastically so a tee-shot short of the green is the ideal shot; this shot will usually bounce forward and run onto the front half of the green.
Distance: 284/273/252 yards
Par: 4
A beautiful stand of old growth pines frame the green on this par four that plays to 284 yards from the back tee. A large bunker and rock outcropping guard the right side of the fairway with a smaller deeper bunker to the left side of the green. Hazards line the left side of the hole as well as behind the green. A well placed tee-shot short of the bunker will leave 100 yards to the green. If you’re a big hitter this is a great birdie opportunity. Aim your tee-shot over the bunker on the right; the slope will kick your ball onto the green with a putt for eagle.
Pro’s Tip: This green is more firm than others on the course and usually a little faster so be cautious with your putting and approach shots.
Distance: 160/160/140yds
Par: 3
The picturesque red barns of Lang Farm can be seen behind the green of this straightforward uphill par three. This hole features a large rolling green with no significant trouble or hazard from the tee.
Pro’s Tip: This hole plays uphill and longer than the yardage indicates, take an extra club. With no hazards and a large green take aim at the pin here.
Distance: 293/258/241 yards
Par: 4
This pumpkin patch and tree-lined uphill dogleg left par four features two large fairway bunkers that add to the challenge of this hole. Your tee-shot must be positioned on the right side of the fairway to allow you to see an open view of the green; a good tee-shot will put you in prime position for a birdie. Be cautious off the tee as there is a large pond in front of the teeing area and out of bounds lining the field on the left.
Pro’s Tip: Do not try to cut the corner on the left, this tee-shot requires a 250+ yard drive and is a big risk. When the pin is in the back left position play your approach shot short of the pin so you can have an uphill putt at birdie.
Distance: 111/102/84 yards
Par: 3
This may be the shortest hole on the course but the fifteenth hole is filled with challenges. This green like many others is well guarded by two massive bunkers at the front of the green that are no easy feat to get out of. The green is a small bowl shaped target but features drastic slopes on both the front and back edges of the green.
Pro’s Tip: A short or long tee-ball on this hole make a par a real challenge, however long is better than short. Aim your tee-shot to land on the back half of the green, the slope will funnel your ball down to the hole.
Distance: 175/152/89 yards
Par: 3
A small creek is the hazard to avoid on your tee-shot on hole sixteen measuring 175 yards from the back tee. This is the second toughest hole on the course. More hazards can also be found behind the green as well as just off the tee. The wind is usually at your back so make sure to check your club selection.
Pro’s Tip: Check your alignment, a majority of golfers land left of this green.Take an extra club, there’s a lot of room over the green but very little room short of the green.
Distance: 240/231/212 yards
Par: 4
Hole seventeen is the shortest of our par fours reaching only 240 yards from the blue tee. This hole features six bunkers; a hazard just off the tee and out of bounds left of the green. Even with all the hazards this hole still remains the easiest hole on the course. A driver or fairway wood up the right side of the fairway will leave you a short pitch shot or even a putt at eagle. The green is very long and features an upper tier that offers many tricky pin placements.
Pro’s Tip: Avoid the bunker short of the green! This bunker is extremely deep and sits back from the green making your next shot very difficult.
Distance: 365/324/272 yards
Par: 4
The finishing hole is the longest hole on the course and one of the most difficult. With out of bounds down the entire left side and a hazard that splits the fairway this hole requires two great shots for your chance at a birdie. The hazard that runs across the fairway is approximately 260 yards off the blue tee but only 220 yards off the white tee. Your approach shot needs to be precise, hazard surrounds the right side of the green and there’s a large bank short of and behind the green. The green has two large tiers so place your approach shot accordingly.
Pro’s Tip: Check you club selection off the tee. Long ball hitters should not hit driver and those playing from the white and red tees will also need to lay-up. Make sure to get your approach shot to the green, anything short will roll back and leave you a long pitch.
Readers’ Favorite New Golf Course
– Northeast Golf Magazine